Ornamental grasses come and go in popularity but serve so many purposes that a collection of different types can enhance your overall design.
 Grasses have more than one season of interest and there are grasses that flower in Spring, Summer, and Autumn. Some even have spectacular Fall color. If left standing over the winter, grasses provide a strong element in the landscape.
Grasses are unequaled in bringing texture and sound to the garden. The sound of the wind rustling through grass is soothing and tranquil. There are tall grasses and short ones, fine textured and impressive, with wonderful flowers. Grasses for sun and shade.
There is a grass for every garden.Some are fillers, some are ground covers, some are container plants,some make a very strong statement and all are deer resistant.
Here are a few of my favorites:
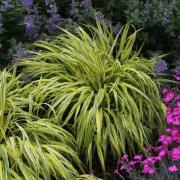
Hakonechloa macra is not particularly colorful but it makes an impressive statement planted en masse or mixed in a perennial border, or grown in a container. It cascades gracefully at about two feet. It grows more quickly, tolerates more sun and is very hardy. My collection of grasses would not be complete without it.
Hakonchloa macra ‘Aurieola’ is a beacon in the shady garden. It grows more slowly than macra but is well worth the wait. It looks beautiful cascading over a wall or the side of a container.
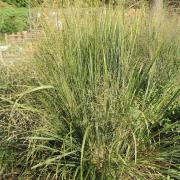 Panicum North Wind A tall upright blue grass growing to five feet with airy white plumes in September makes a statement in the border and remains upright through the winter.
Carex Ice Cream Although technically a sedge, C. Ice Cream reminds me of Cousin It from the Adams Family. A rich green with creamy white stripes growing to two feet it makes an excellent ground cover in the shade.
Sue Acheson

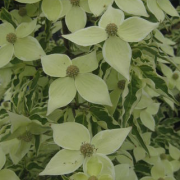 Cornus kousa—Korean Dogwood, cv. Wolf Eyes
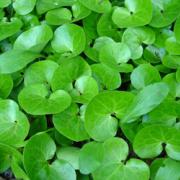 Asarum europaeum—European Ginger
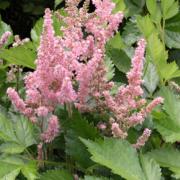 Astilbe chinensis—Chinese Astilbe